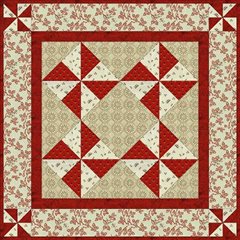
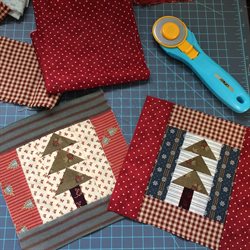
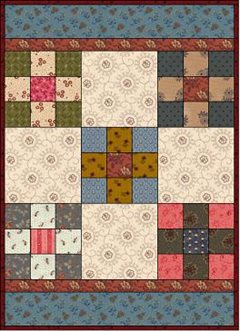
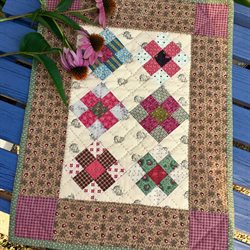
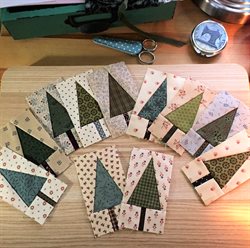
Free Patterns
Here are some free patterns I designed for you to enjoy. They are for your own personal use. Even though they are free patterns, I wrote the instructions and the rights still belong to me and are protected under federal copyright law. You are not allowed to reproduce or copy them and claim or sell the patterns as your own. Doing this is illegal as well as unethical. Giving credit to me and a link to my site is appreciated.
Thanks,
Kathy
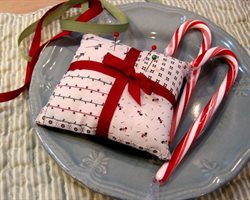
 christmaspresentpincushion